The Complete Beginner’s Guide to Rappelling Safely
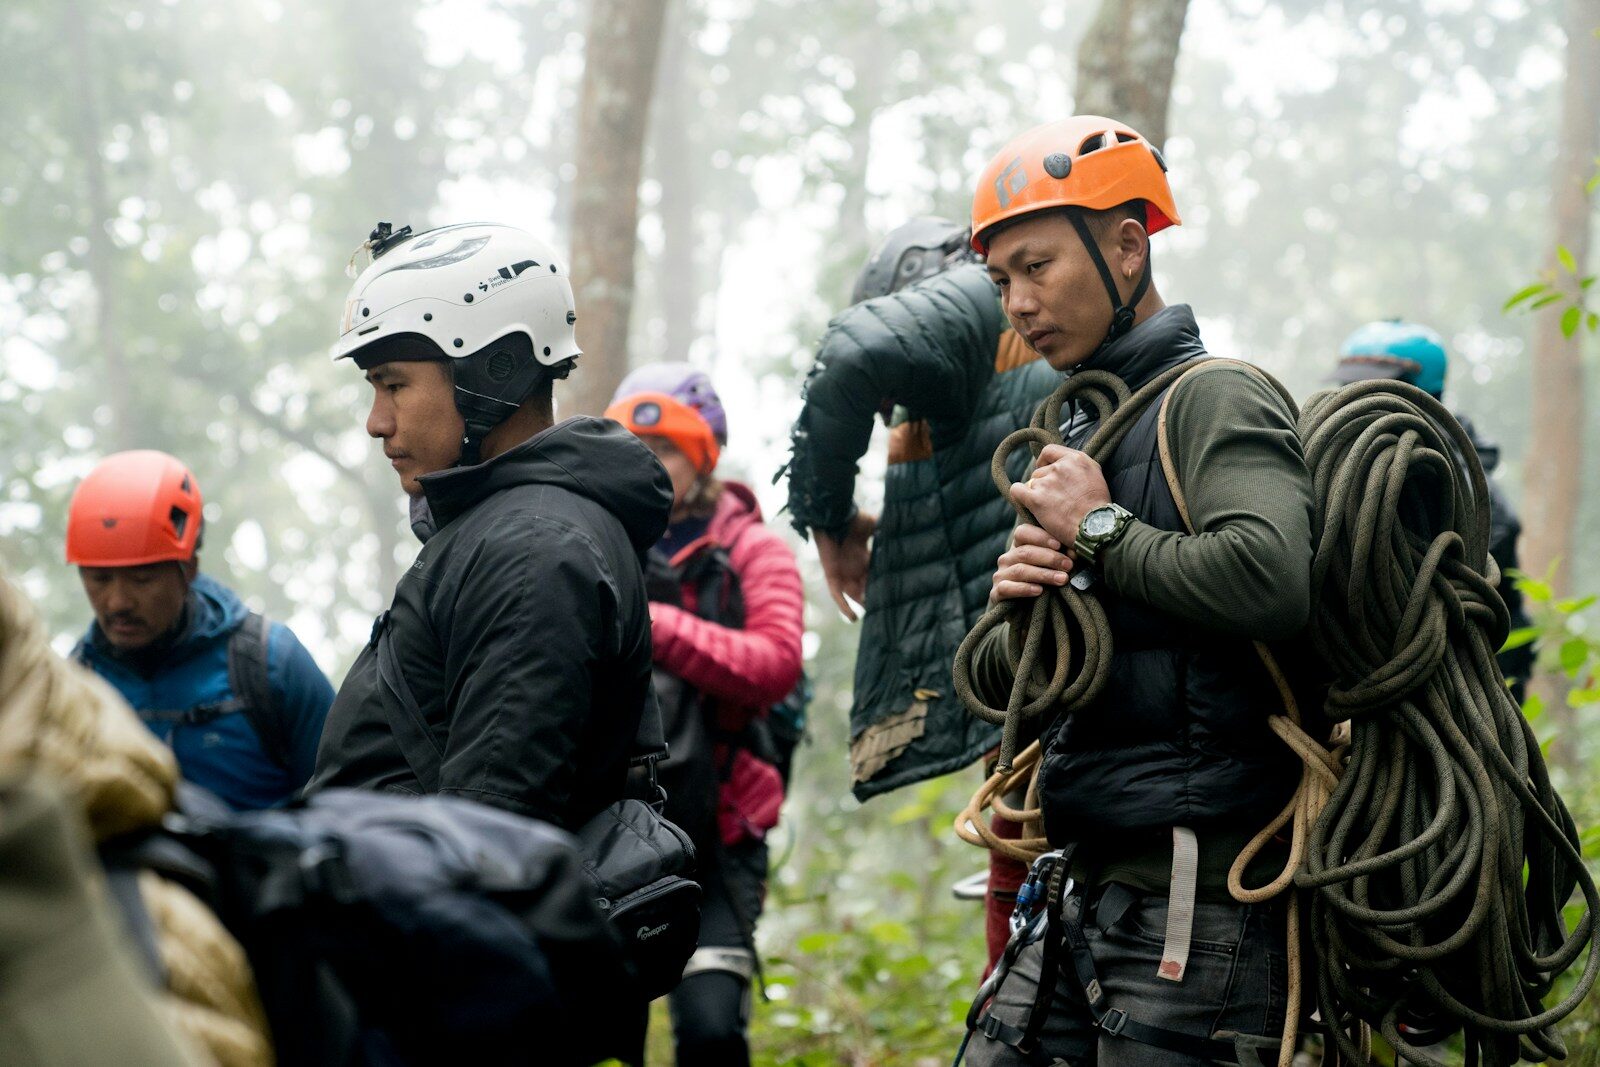
Rappelling is the controlled descent of a rope down a cliff or steep terrain, and it occupies a strange position in the hierarchy of climbing skills. It looks frightening to people who have never done it, which makes it feel like an advanced technique when it is actually one of the first skills taught in roped climbing programs. Most beginners who are genuinely nervous before their first rappel are comfortable within an hour of supervised practice. The physical mechanics are straightforward, the safety system is logical, and the feeling of trusting your weight to a rope and device while walking backward down a wall becomes natural faster than almost any other climbing technique.
The complication is that rappelling is statistically one of the most dangerous activities in climbing, and the danger is not in the technique itself. It is in the predictable human tendency to become casual about a skill that feels familiar. Most rappelling accidents involve errors that experienced climbers make precisely because the task felt routine. Understanding why it goes wrong is as important as learning how to do it correctly.
The System Components
A basic rappel system includes an anchor, a rope long enough to reach the next anchor or the ground, a rappel device, a locking carabiner, and your harness. A belay device like the ATC functions well as a rappel device. You thread the rope through or clip it into the device, attach the device to your harness belay loop with a locking carabiner, and control your descent rate by gripping the brake strand, which is the rope below the device on your brake-hand side. Gripping the brake strand increases friction and slows your descent. Releasing grip decreases friction and allows faster descent.
Body Position on the Wall
The rappel position is counterintuitive until you have felt it a few times. You stand with feet roughly shoulder-width apart on the rock face, legs roughly perpendicular to the wall, body forming an L-shape. Your weight rests against the harness and through it against the rope. You are effectively sitting in the harness and walking backward while controlling rope payout with your brake hand.
Keep your legs relatively straight rather than crouching down; crouching reduces your control and leverage on the wall. Keep your body angled back rather than upright; leaning back keeps your feet in contact with the rock. Move in small, deliberate steps rather than bounding off the wall in the dramatic style that looks impressive in movies and actually reduces control significantly.
The Friction Hitch Backup: Not Optional
Before any rappel, a friction hitch backup should be rigged below the rappel device. A small cordelette or purpose-made friction hitch cord is wrapped around the brake strand of the rope below your device, then attached to your leg loop with a locking carabiner. When the backup rides loosely, you can descend normally. If your brake hand releases the rope for any reason, the friction hitch grips the rope and stops your descent automatically.
This backup is not extra credit for careful climbers. It is the standard of practice for safe rappelling. There is no legitimate argument against using it. Beginners should install it reflexively before every rappel until it is as automatic as putting on a helmet.
The Errors That Kill People
The most common fatal rappelling error is rappelling off the end of the rope. When a rope is not long enough to reach the next anchor or the ground, a climber who does not have stopper knots in the rope ends will rappel directly off the rope end and fall. The prevention is specific and takes ten seconds: tie an overhand or figure-eight knot in each rope end before every single rappel. Every time. Without exception. This error has killed experienced climbers in familiar terrain.
The second common class of errors involves inadequate anchor verification. Never clip into an anchor and weight it without checking each component yourself, with your hands, even if you watched someone else build it. Touch every piece. Test every connection. Confirm the rope is threaded correctly. A quick visual check from a distance is not anchor verification.
Hair and loose clothing caught in rappel devices have caused a specific class of accidents in which the device locks with the climber partway down the rope and cannot be released. Tie back long hair before every rappel. Be aware of hoods, drawstrings, loose jacket fabric, and pack straps near the device during descent.
Getting Proper Instruction
Everything described in this guide is context for hands-on instruction, not a substitute for it. Take your first rappels with a certified guide or experienced instructor in a controlled environment before you apply this skill outdoors in a situation where the stakes are real. Most climbing gyms and guide services offer introductory rappelling programs. The investment of one guided day establishes the physical patterns and verification habits that make rappelling genuinely safe rather than merely survivable most of the time.