How to Read a Topographic Map Before Your GPS Dies on You
Every year, search and rescue teams log calls that start the same way: hiker got turned around, phone died, no paper map, no compass, no idea which drainage leads back to the trailhead. Some of these calls end with an embarrassing but safe helicopter extraction. Some do not end as well. A topographic map and a baseplate compass will outlast every smartphone battery on the market, work in any temperature, survive submersion in a stream crossing, and never lose a satellite signal. Learning to use them is one of the most practical skills you can develop as a mountain climber, and it is significantly easier than most people expect.
What a Topographic Map Is Actually Showing You
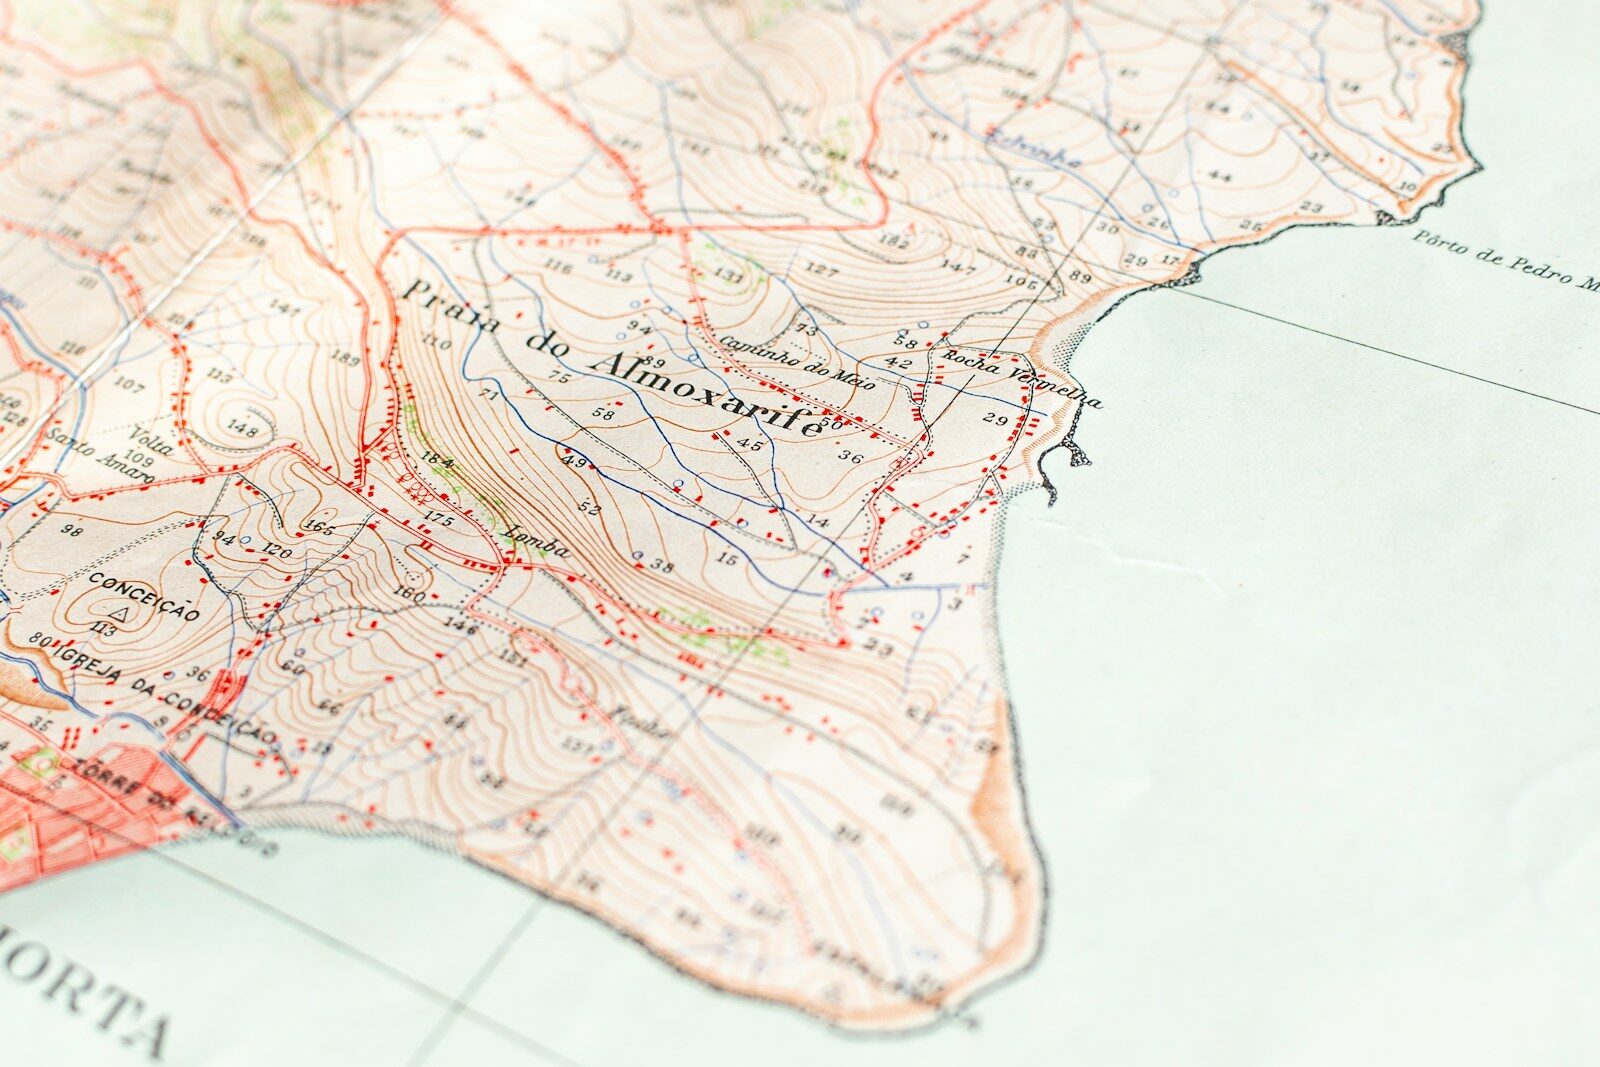
A topographic map represents three-dimensional terrain on a two-dimensional piece of paper using a system of contour lines, thin brown lines that trace paths of equal elevation across the landscape. Every point on a single contour line is at exactly the same elevation above sea level. Two adjacent contour lines close together mean the terrain between them is steep. Two contour lines far apart mean the terrain between them is gradual or flat.
The vertical distance between any two adjacent contour lines is called the contour interval and it is printed in the legend at the bottom of every map. Standard USGS 7.5-minute topographic maps, the most detailed and widely used series for the US, typically show a 40-foot contour interval, meaning each line represents a 40-foot change in elevation. Every fifth line is an index contour, printed darker than the others and labeled with its elevation in feet or meters. Index contours let you quickly count up or down in 200-foot increments rather than counting every single line.
Reading the Terrain Features
Once you understand contour lines, the terrain features they describe start to become readable with practice. Here are the patterns to recognize:
Ridges appear as contour lines forming V or U shapes with the points of the Vs pointing downhill, away from the summit. A ridgeline is a high spine of terrain, and on a topo map, the Vs always point toward the lower ground on either side of the ridge.
Valleys and drainages look like the opposite: V or U shapes pointing uphill, toward the higher terrain. A stream runs along the bottom of a drainage, and on the map, the V’s point upstream toward the water’s source. This is a reliable way to identify which direction water flows in unfamiliar terrain.
Summits appear as concentric rings of closed contour circles, with the highest elevation in the center. The more tightly packed and numerous the rings, the steeper and more sharply defined the peak.
Saddles are the low points between two higher elevations, appearing as an hourglass shape between two sets of concentric circles. In mountain navigation, saddles are critical features because they typically represent the most reasonable crossing point between adjacent valleys or drainages.
Cliffs occur wherever contour lines bunch so closely that they overlap or nearly touch. Any section of your planned route where lines are essentially stacked on top of each other deserves careful evaluation and possibly a view from a different angle on the map before you commit to traveling through that terrain.
Using the Map Legend and Scale
USGS 7.5-minute topo maps are printed at a scale of 1:24,000, meaning one inch on the map represents exactly 24,000 inches of real distance, which works out to about one-third of a mile per inch. A useful rule of thumb: two inches on the map equals roughly two-thirds of a mile, which is close enough for field planning purposes.
The color system is standardized: blue for water features including lakes, rivers, and streams; green for vegetated areas; white for open terrain, bare rock, or sparse vegetation; brown for contour lines; black for man-made features like trails, roads, and buildings. Study the legend before every trip, not because the symbols change dramatically between maps, but because confirming your assumptions only takes thirty seconds and wrong assumptions cost hours.
Orienting the Map in the Field
A map that is not oriented to match your actual surroundings is decoration, not navigation. To orient your map, place your compass flat on it, then rotate the entire map until the red compass needle aligns with the north indicator on the map. Do not rotate the compass; rotate the map. Once oriented, the terrain features on the map should correspond to the terrain features around you in the same relative positions.
Pick a visible landmark and find it on your oriented map. Use that confirmed position as your starting point for all subsequent navigation decisions. Repeat this process at every major junction and any time the terrain looks different from what you expected.
Carry a topo map on every trip, even routes you have done before. Practice predicting what terrain lies ahead based on the contour lines, then check whether you were right when you arrive. Over a season of this kind of deliberate practice, you will develop the spatial reasoning that makes a map feel like a three-dimensional landscape you can walk through mentally before you walk through it on foot.


